I get a little excited sometimes about building things. I’ve made a few things – I’ve always been very practical and I love to get stuck into a project from time to time. I’ve made a dining tables from reclaimed cable drums and built my own bed. The main thing is quality and design. Most of the time it pays off and I get a unique item that looks amazing.
I decided a few months ago to build my own desk as I was converting a spare room into an office. The three perquisites were simple:
- Use reclaimed timber (I was going to make a concrete top, that’s a project for another time)
- Make sure it has an industrial look
- Have fun! (the most important really)
The background to all my projects are as much about design and the fun of researching where to get materials from, but also enjoying the build process. Right now I’m living in a city centre apartment in central Manchester. It’s a great place to live, massive windows, but no outside space – so I also have to consider my options around a build.
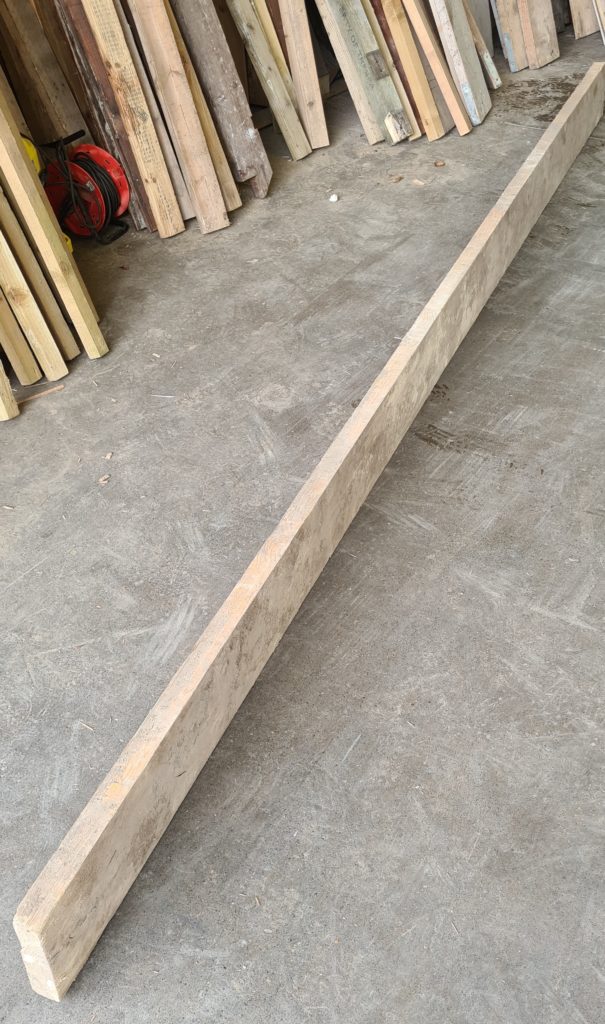
First was the basic design. I really liked the scaffold board look. Then it’s new or old? Really to help the planet recycled is always better. So I researched where to get them from. Boom! Touch Wood Emerge in Smith Field Market (https://emergemanchester.co.uk/touchwood). Then it was just a matter of bringing it all together.
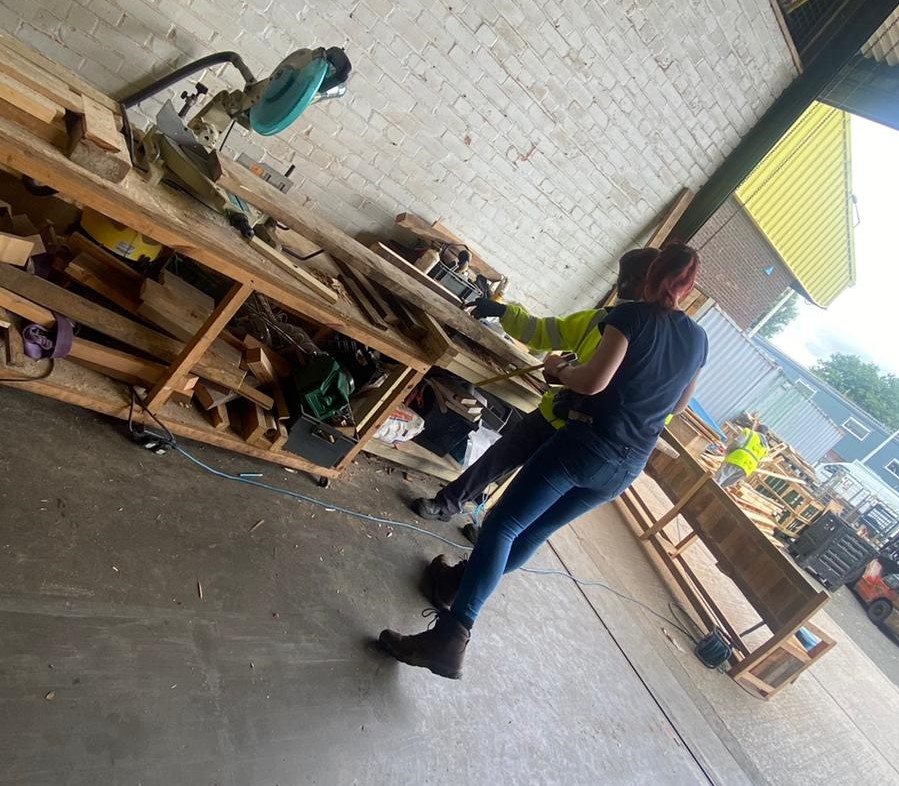
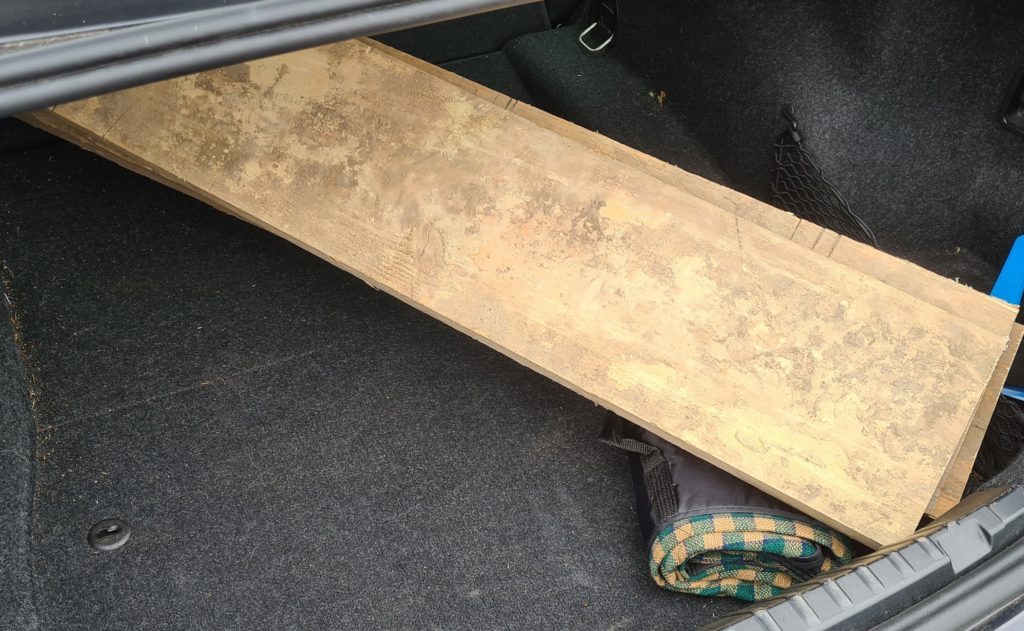
1. RECLAIMED WOOD – After a couple of attempts to get there (it’s a one way nightmare) the people where so friendly, and amazing value. £20 for about four meters of reclaimed wood, cut to size. Bargain. I was very excited. And as it was cut to the right size, it fitted perfectly into the boot of my car.
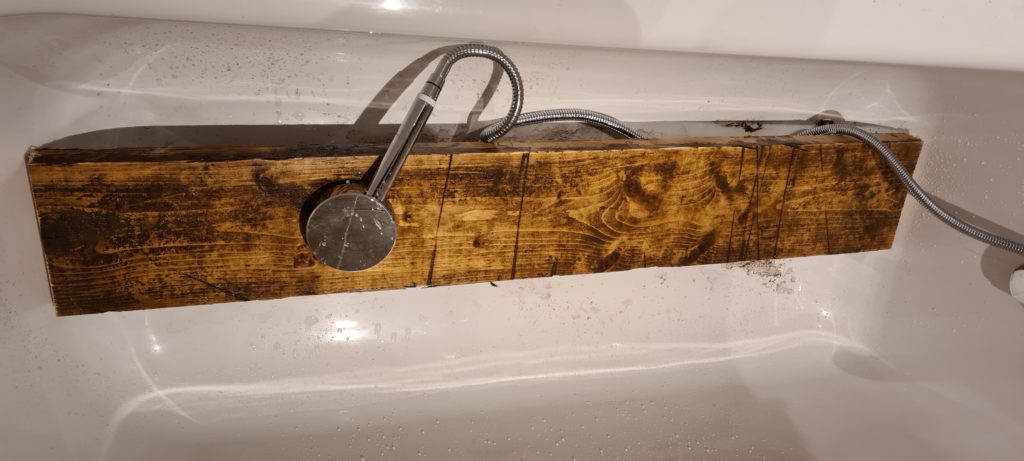
2. CLEANING – The first thing it needed was a good wash. In the bath to have a shower. Then dried them out for 24 hours. There was such much dirt to come off, but a good scrub and they started to look amazing.
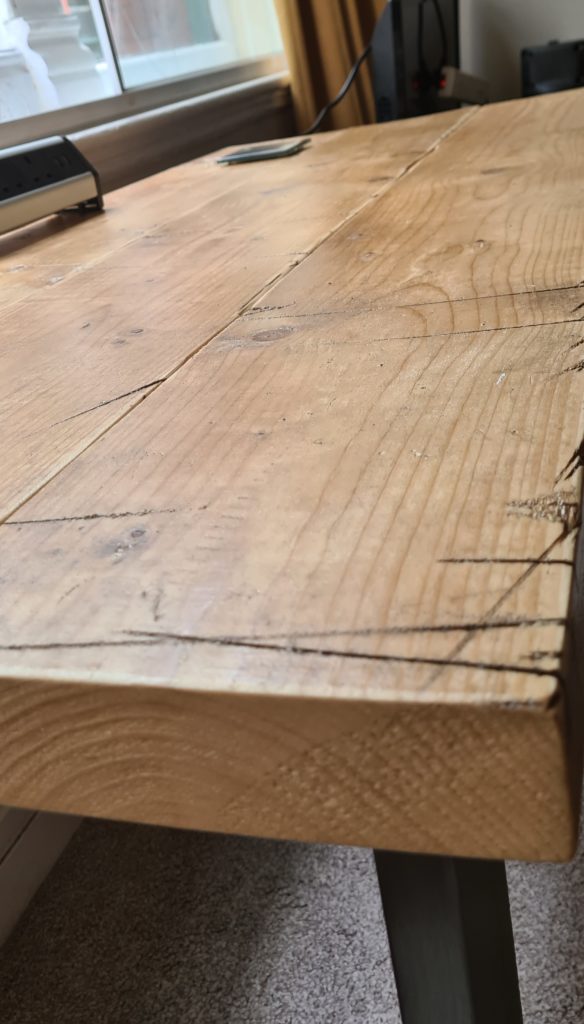
3. SANDING – Then to my friends garden to do the messy bit. Sanding. Not too much, I wasn’t after the super smooth look. I picked the wood because of it’s roughness. Old saw marks, I didn’t want to sand those away.
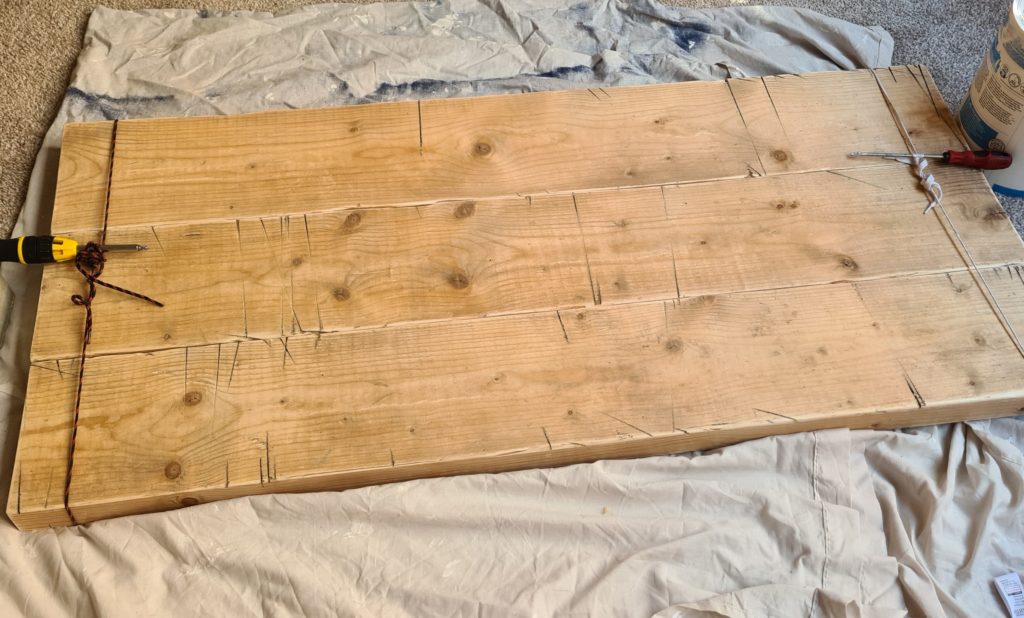
4. GLUING – Back to mine to glue the wood together. Not having all the tools and clamps to hand meant having to improvise. A couple of shoelaces pulling it together, which in hindsight was a mistake, as although it means the gaps between the wood planks were tight, it did fix with a corner slightly raised.
5. SOURCE THE LEGS – In the meantime I ordered some cool bear metal legs. I wanted some square box ones – first they supported all the planks, and secondly they look awesome.
6. VARNISH – Next the varnish, bottom first. A couple of coats so I can get the legs on. Careful to avoid drips. The water based varnishes need to be thin coats or sometimes you get white marks where it pools and dries over time (a lesson I learnt from a previous project). Just simple clear indoor varnish – I love the look of wood. I also wanted to see the wood cuts from their previous use to be on show.
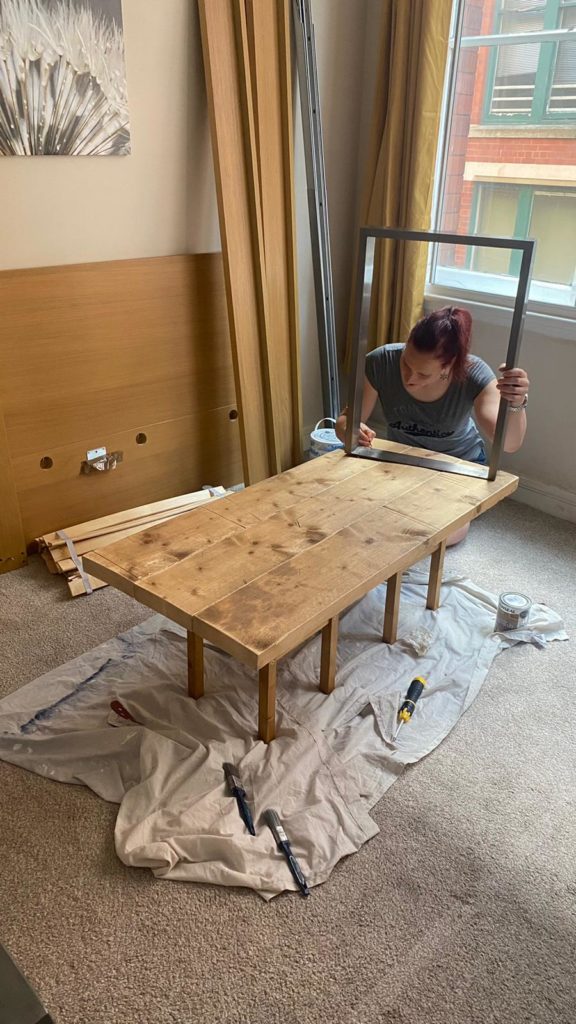
7. THE LEGS – Finally getting the legs on. With the two coats dry, and not forgetting my limited space the legs went on. The legs helped pull the top a little more level too – that was a bonus. With the desk flipped over to stand upright for the first time, four more varnish coats on the top and sides. A quick sand between each coat.
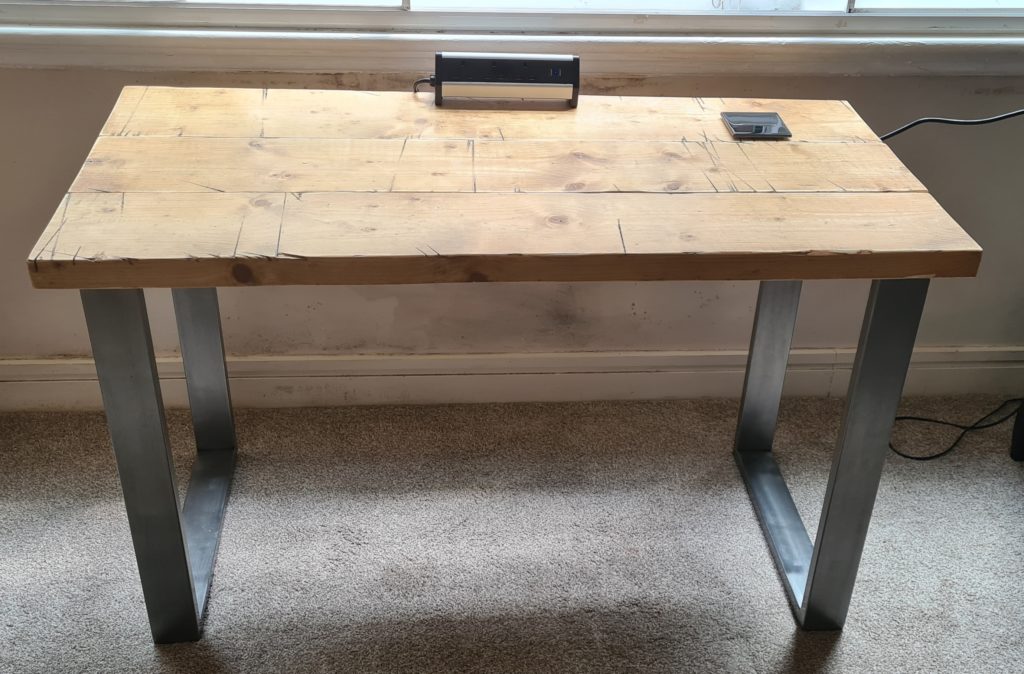
And BOOM! The desk is done. And with a desk top plug the new desk looks the business.